


Looking to create grid style layout in WordPress without compromising your existing layout?If yes then You’re at right place.Grid based layout are perfect for displaying your product like plugins for sell and themes.Grid based layout is in trend and it enhances your website layout.
Most of the WordPress themes do not come with a grid layout to display your posts.With this tutorial, you can create grid style layout on WordPress website smoothly without using codes.There are plenty of plugins available which can add masonry style layout on your WordPress website.
Tutorial to Create Grid style layout
To create grid style layout in WordPress website, you need a plugin which can build grid style layout.There are plenty of plugins available on the internet that can build amazingly beautiful masonry style layout.
We’re using Essential grid plugin to create grid style layout, you can also use this plugin.Just visit the Codecanyon store and purchase this plugin in jaw-dropping price $26.Essential is a premium plugin you should give it a try.
So let’s begin the tutorial on how to create grid style layout in WordPress.
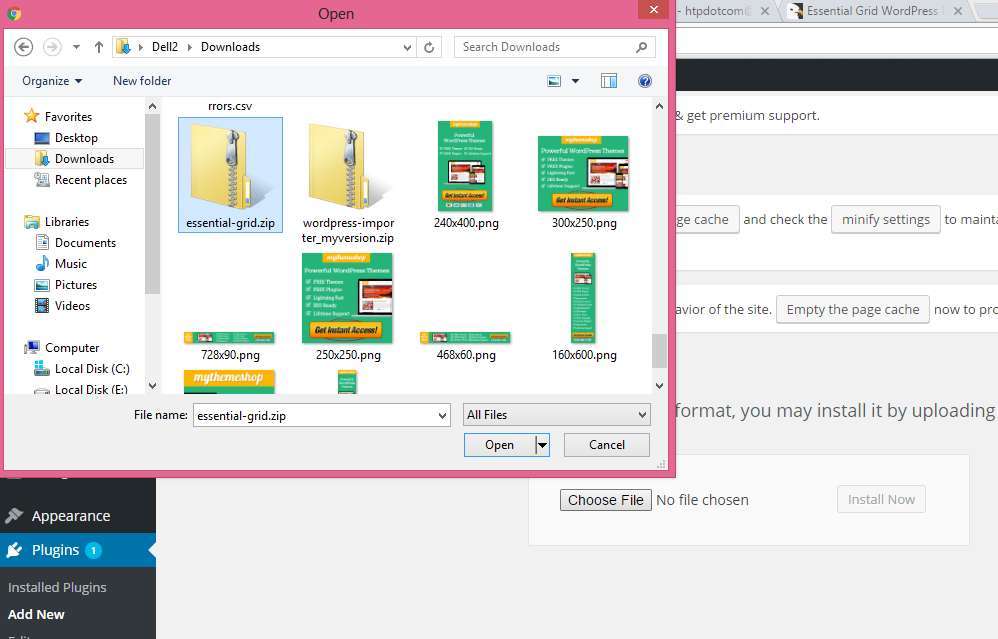
The first step is to purchase the plugin and complete the installation process.You can purchase this plugin from this link.Once you have purchased the plugin download the .ZIP file on your local hard drive(Computer).Now open the main installable plugin folder and upload it to the WordPress.

Once you have successfully installed and activate the plugin, you can now create the grid layout.Click on the essential grid option in the left side menu bar and you’ll be redirected to the essential grid dashboard.
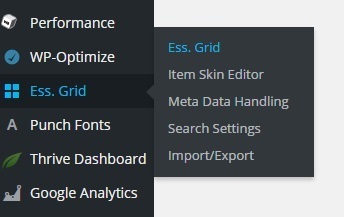

On the Essential plugin dashboard, you can see many options.Now click on the “create new essential grid” from the dashboard.After creating create new essential grid option, a new editor will open where you can customize the grid style, skin, and others.


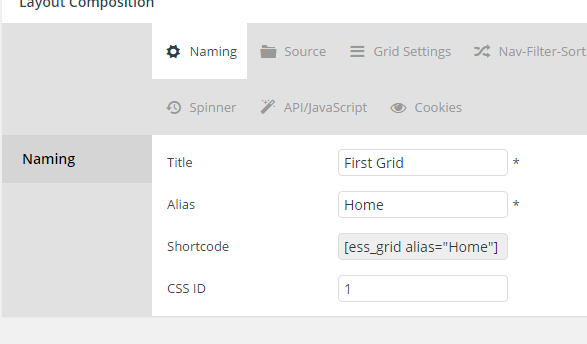
Naming Your Grid
After following these steps, you can see the essential grid editor.The first option in this editor is naming your grid under which you have to enter the name of the grid and Alias.

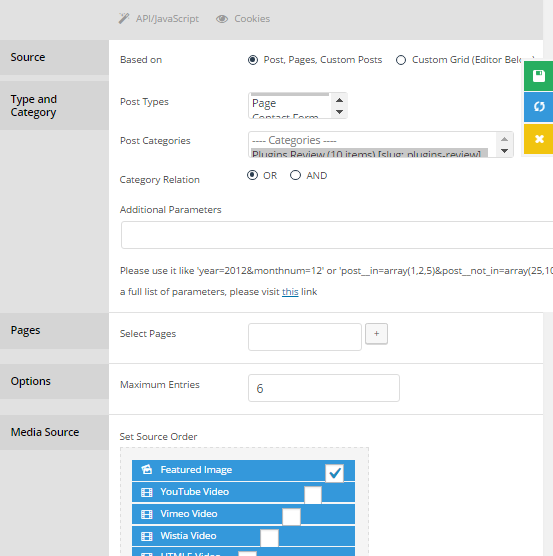
Select the Source of the Grid
Once you given the name your new grid, now go the next option “Source”, under which you have to the select the sources of the post of images such as category, tags and more.
- Post Type : Post/Page
- Post Categories : Select your category or Tags.
- Maximum Entries : How many grids you want to show.
- Set Source Order : Featured Image

Configure Your Grid
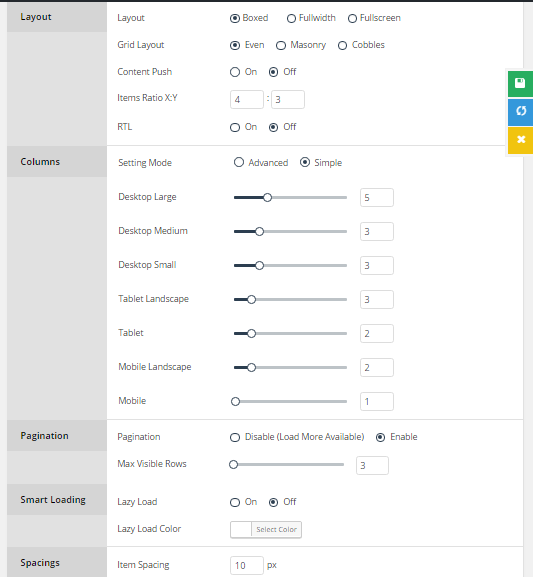
The next option is to configure your grid.Under the grid setting option, you can select the Layout style, number of columns, pagination setting, Smart loading and spacing, Padding.
1.Layout
- Layout : As per your style(We are using Boxed)
- Grid Layout: As per you style(We’re using even)
- Items Ratio X:Y : 4:3
2.Columns
- Setting Mode : Simple(Advanced is Complicated for Beginners)
- Desktop Large : 3
- Medium : 3
- Small : 2
- Tablet : 2
- Mobile Landscape : 2
- Mobile : 1

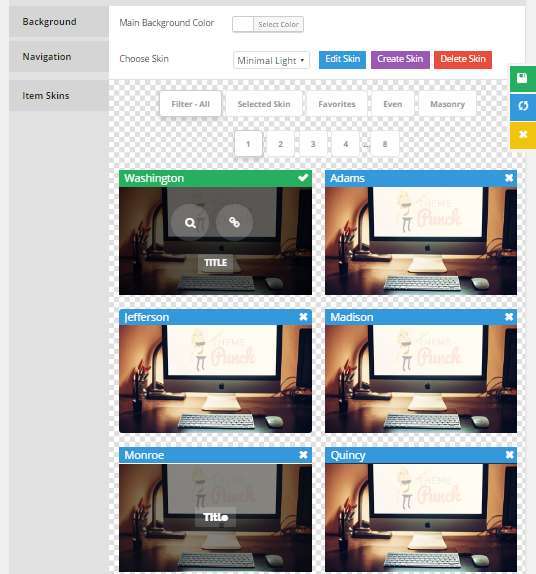
Select the Skin
Under this option, you have to select the skin from the Prebuild skins.In this option, you can choose the background color and item skin.

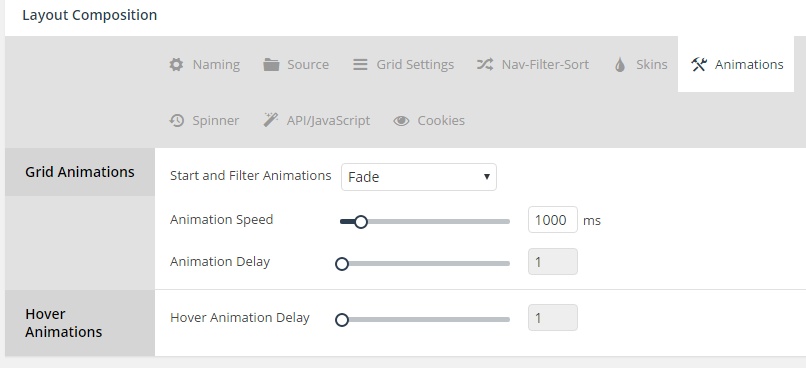
Animation
Under this option, you can add animation to your grids.There are two options first is Grid Animations and second is Hover Animations.
- Start and Filter Animations : As per your Need(We’re using Fade)
- Animation Speed : 1000 ms
- Animation Delay : 1
- Hover Animations : 1

Save your Grid
Once you properly configure your grid, you can save your grid to use it on the post or any other page.Click on the green “Save” icon in the right to save the grid for use in the future.


The last step is to add your grid on the page or in your post.This can be done by adding the shortcode on the page on which you want to show the grid.Just copy the shortcode and paste it into the page.
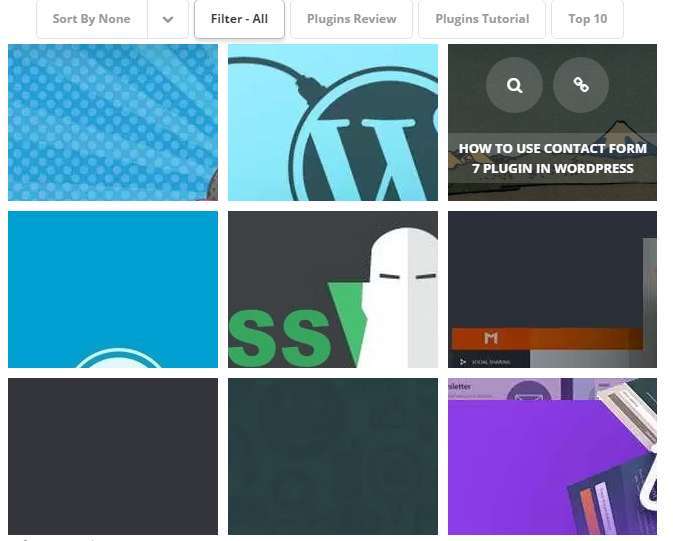

Final Words
We hope that this tutorial direct you in the right direction and you’ll create your grid style website soon.There is a similar plugin available “The Grid”, but I have faced some issue this The Grid plugin, so I recommend you to use Essential Grid plugin and convert your existing blog into the Masonry style website.
If you want to suggest another plugin that can create grid style layout in WordPress, please share with us and our readers.
About Post Author

