


Email subscription allows you to tell your loyal readers that you just created a new article or posts which helpful to you.Undoubtedly, MailChimp is one of the best email services to add email subscription on your WordPress blog.So, we are going to share on How to use Mailchimp on a WordPress Blog easily.
Step-by-Step Tutorial to setup Mailchimp
With this step-by-step tutorial, you can easily set up MailChimp on your WordPress blog.
Step 1.Create a Free Account here.
Mailchimp offers their users to choose a plan, so if you have a new blog with less traffic choose a free plan.You can also choose premium plans according to your needs.
With the free plan, MailChimp send 12,000 emails to 2,000.You no need to pay a single buck to MailChimp.Most of the new blogger uses this plan so why don’t you?
Step 2.Login to your account.
In step 2, after the submitting your details confirm your email account by clicking on the link which you just received from Mailchimp.Now login to your account and follow third step.
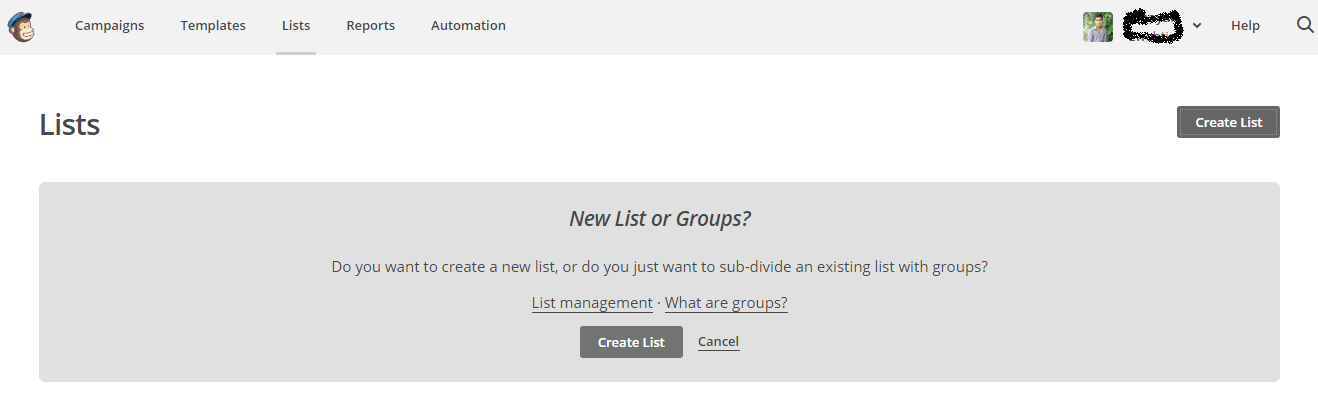
Step 3.Create a new list
In the third step, you have to create a new list for your email subscribers.This list is filled by your blog’s email subscribers whenever they sign up to your blog’s mailing list.
To create a new list login to your account and click on the list option(See the Screenshot) and filled the information in the list form.
Step 4.Install the Mailchimp WP plugin
Now download and install the MailChimp official WordPress plugin.
Step 5.Integrate MailChimp With your blog
In step 5, integrate your blog with MailChimp email service by entering API key or login to your account through the official plugin.
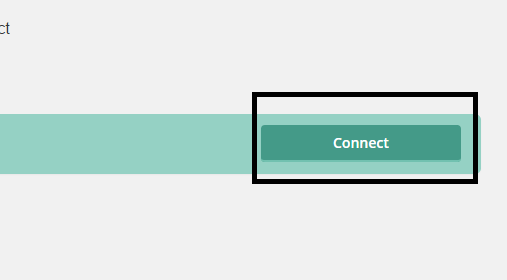
To integrate your blog with MailChimp, you have to login throug the plugin then select the list which you recently created.
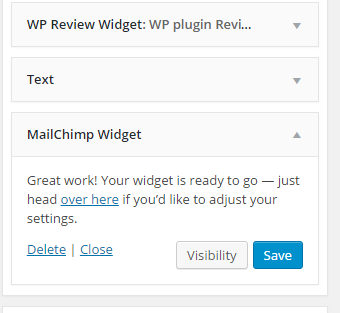
Step 6.Show Email Widget in sidebar
Now, open the widget option from left menu and add a new widget of MailChimp subscriber which enable the email subscriber form in the sidebar.
You can also use other third party premium or free subscribe WordPress plugins like Bloom, WP Subscribe plugin and others.
About Post Author

